27% of B2B customers prefer personalized product demonstrations to make purchase decisions.
Personalized demos should be interactive to give users as much control and empowerment as possible. A self-guided product demo helps the users navigate the product and its significant features at their own pace, ensuring higher conversion possibilities.
But the question is - how to create iinteractive demos?
Creating interactive demos is difficult for sales and marketing teams because they are not as well-versed with the product as the technical teams. But, sales and marketing teams are in constant need to showcase product demos across different stages of a user’s journey.
That’s exactly why you need interactive product demo software that allows you to create customized product demos within minutes without any technical skills.
This blog will guide you to create interactive product demos in a step-by-step manner.
Create an Interactive Product Demo in 5 Steps
Below are the steps to create a demo:
Step 1: Pick an interactive product demo software
The first step in creating an interactive demo is to choose the right software that will enable you to develop and publish your demo. Several options are available in the market, each with its unique features and capabilities. Look for a tool that offers easy personalization, an intuitive interface, scalability, integration with existing tools, advanced analytics, and reporting capabilities. We are using Rivia.ai here.
Step 2: Capture, edit, and publish
- The very first step is to capture the respective pages that you want to highlight in your product demo. We are creating a product demo for the note-taking application Otter.ai.

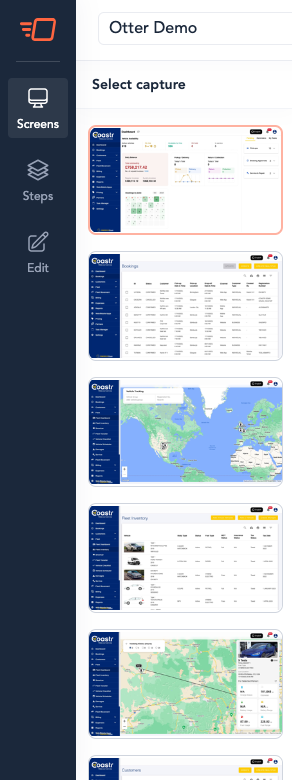
- Now it is time to edit your product demo. Once you enter the Rivia application, you can find the screenshots at the top of the side navigation. By clicking this, you can access all the screenshots you captured in the previous step.
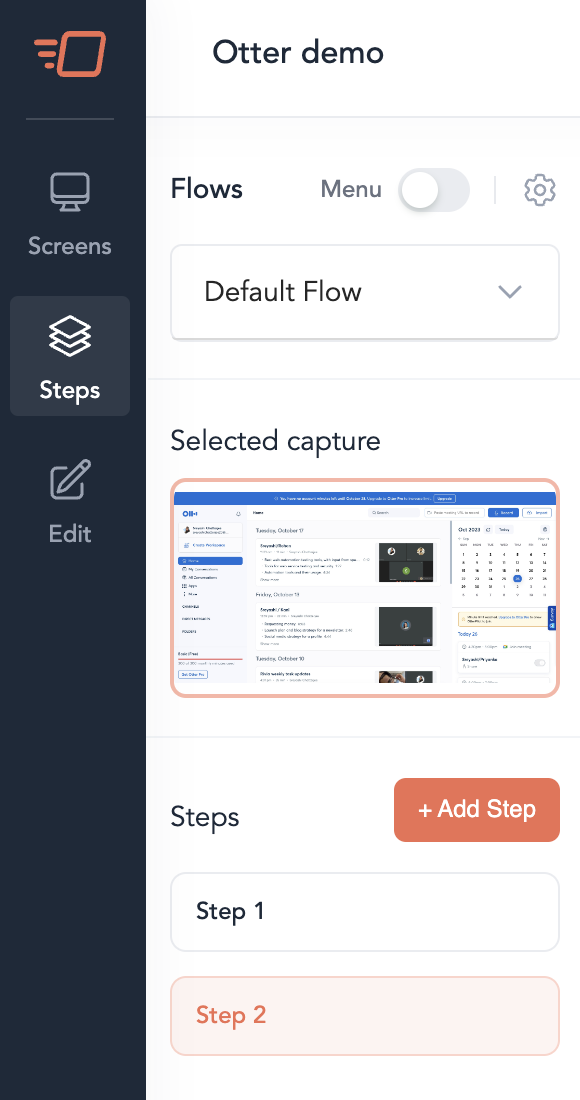
- In the next step, you can add flow and steps to direct the demo in a particular path so that the users can explore the product by following a roadmap, and there are less confusion.
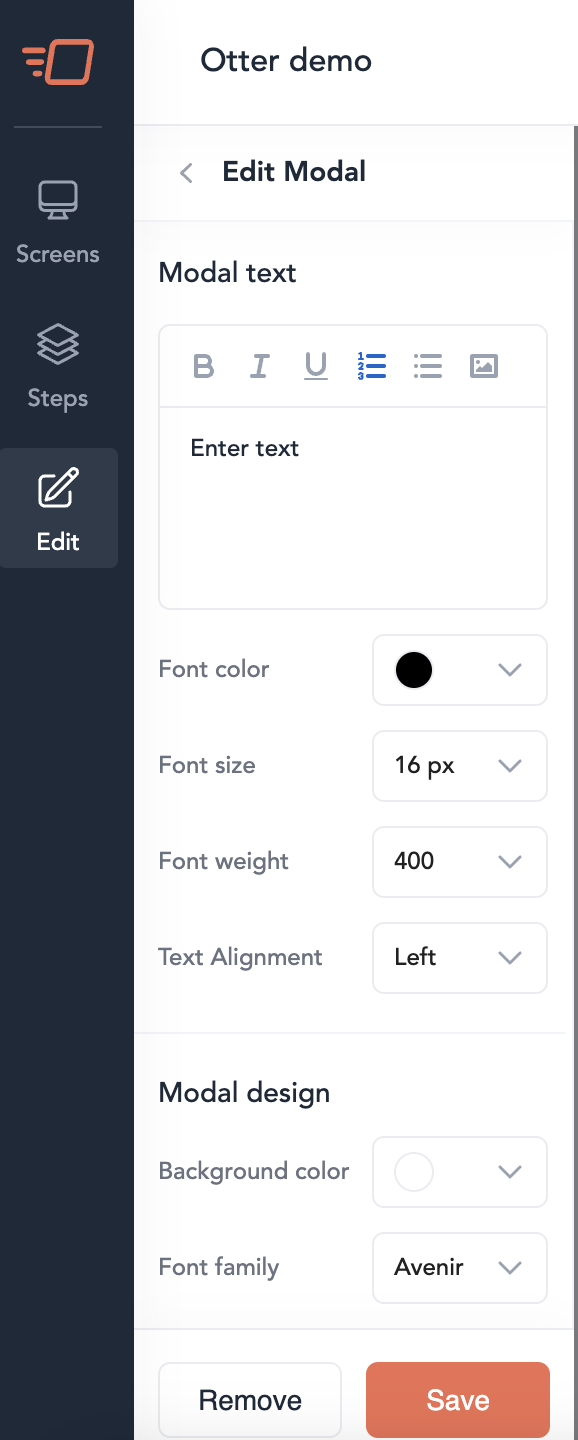
- Finally, to complete the interactive product demo, you will get four different editing options - Text Modal, Tooltip, Forms, and IFrame. With these editing options, you get to personalize the demo by adding various branding elements like colors, fonts, alignments, etc. add or remove links, forms, etc. to create the complete product demo.
- Finally, you can click on “Publish”, specify the view that you want (web and/or mobile) and hit “Publish” again. Use this demo link in multiple touchpoints like websites, social media platforms to build credibility.
Step 3: Track the metrics
You can track the product demos you created on Rivia’s dashboard, along with critical metrics like No. of unique views, completion rate, average, time spent, etc. You can change the timeframe to monitor all product demos within an intuitive dashboard.

Best Practices to Create Highly-converting Interactive Product Demos
Creating compelling interactive product demos is not rocket science! If you have access to the right tools and a basic understanding of the product, you can develop demos that create a lasting impression in your prospect’s minds.
Here are some best practices to expedite the product demo creation process:
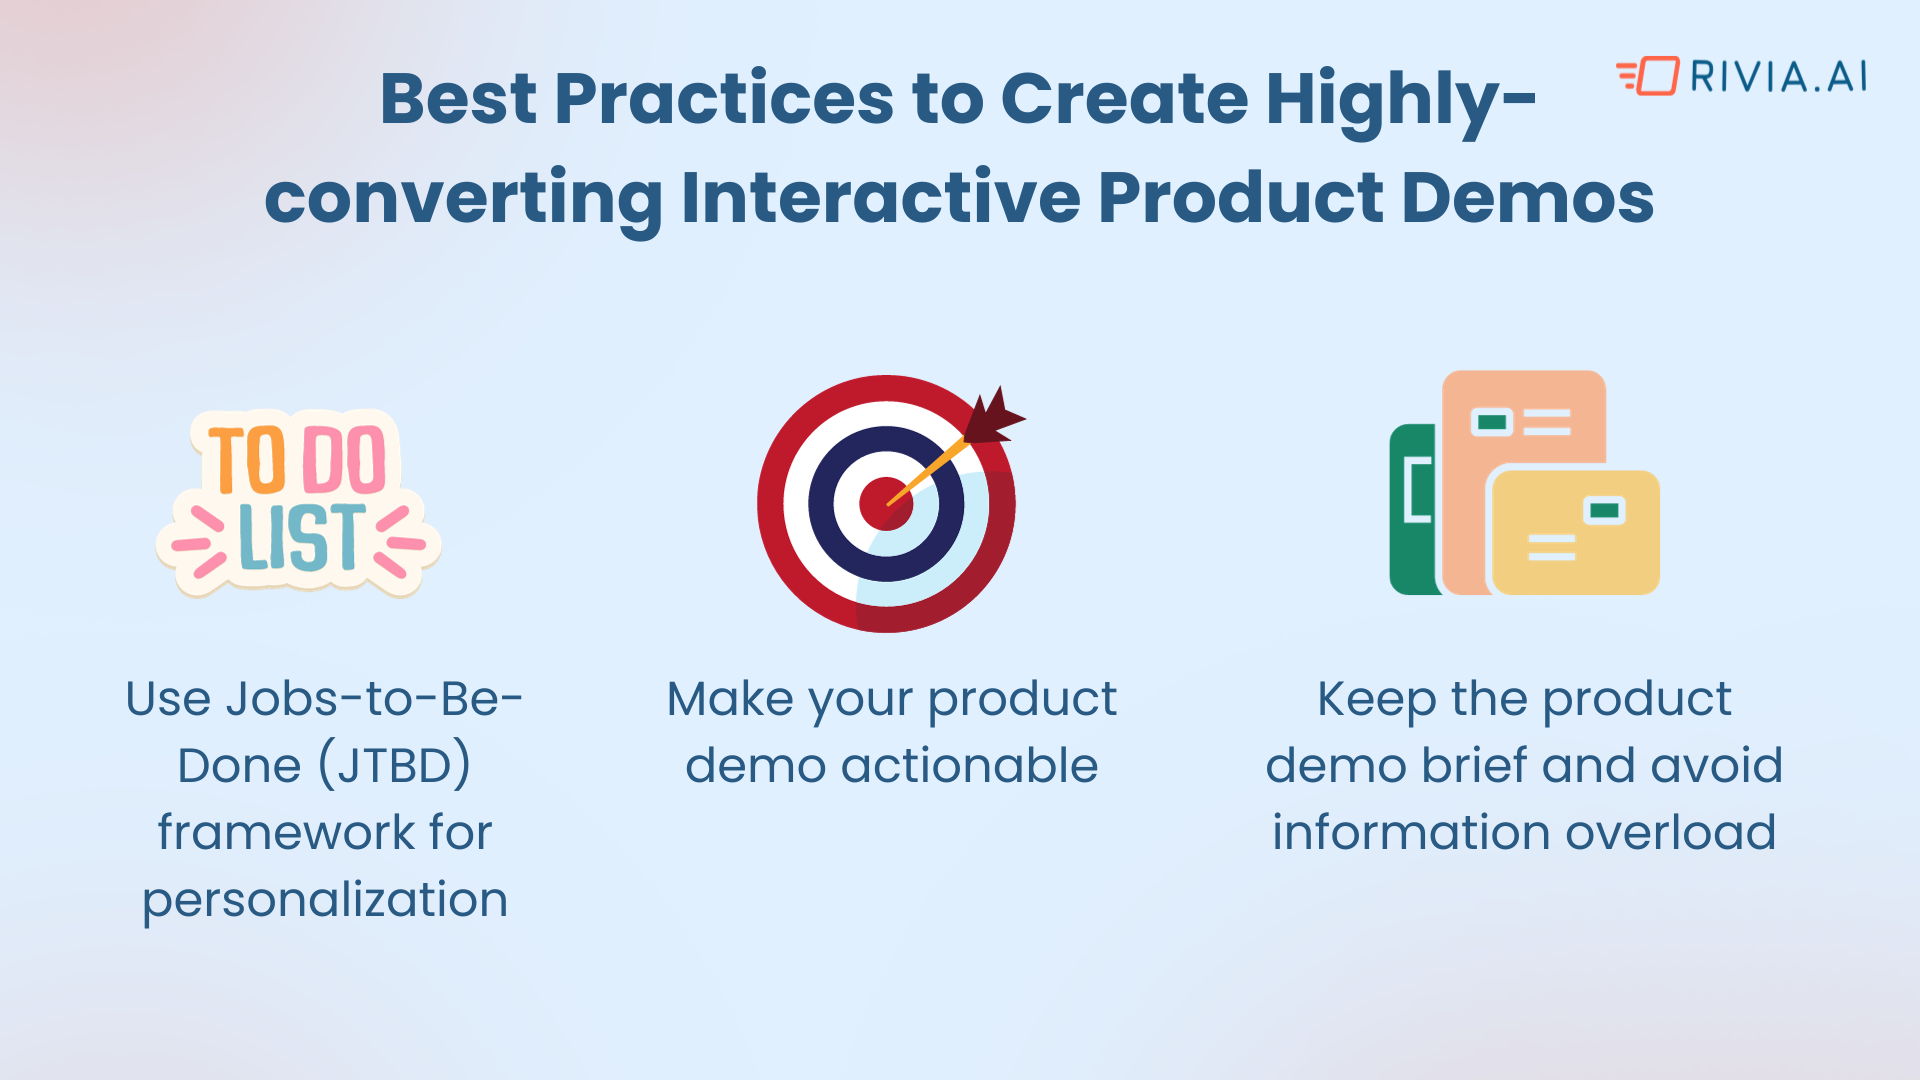
Use Jobs-to-Be-Done (JTBD) framework for personalization
Understand your target audience's specific needs and pain points and tailor your demo to address those. Use the JTBD framework to identify the job your product is solving for the customer and highlight those features and benefits in your demo.
For example, if you selling an internal IT support ticketing platform and target audiences are IT support leaders, your JTBD framework will be like this:
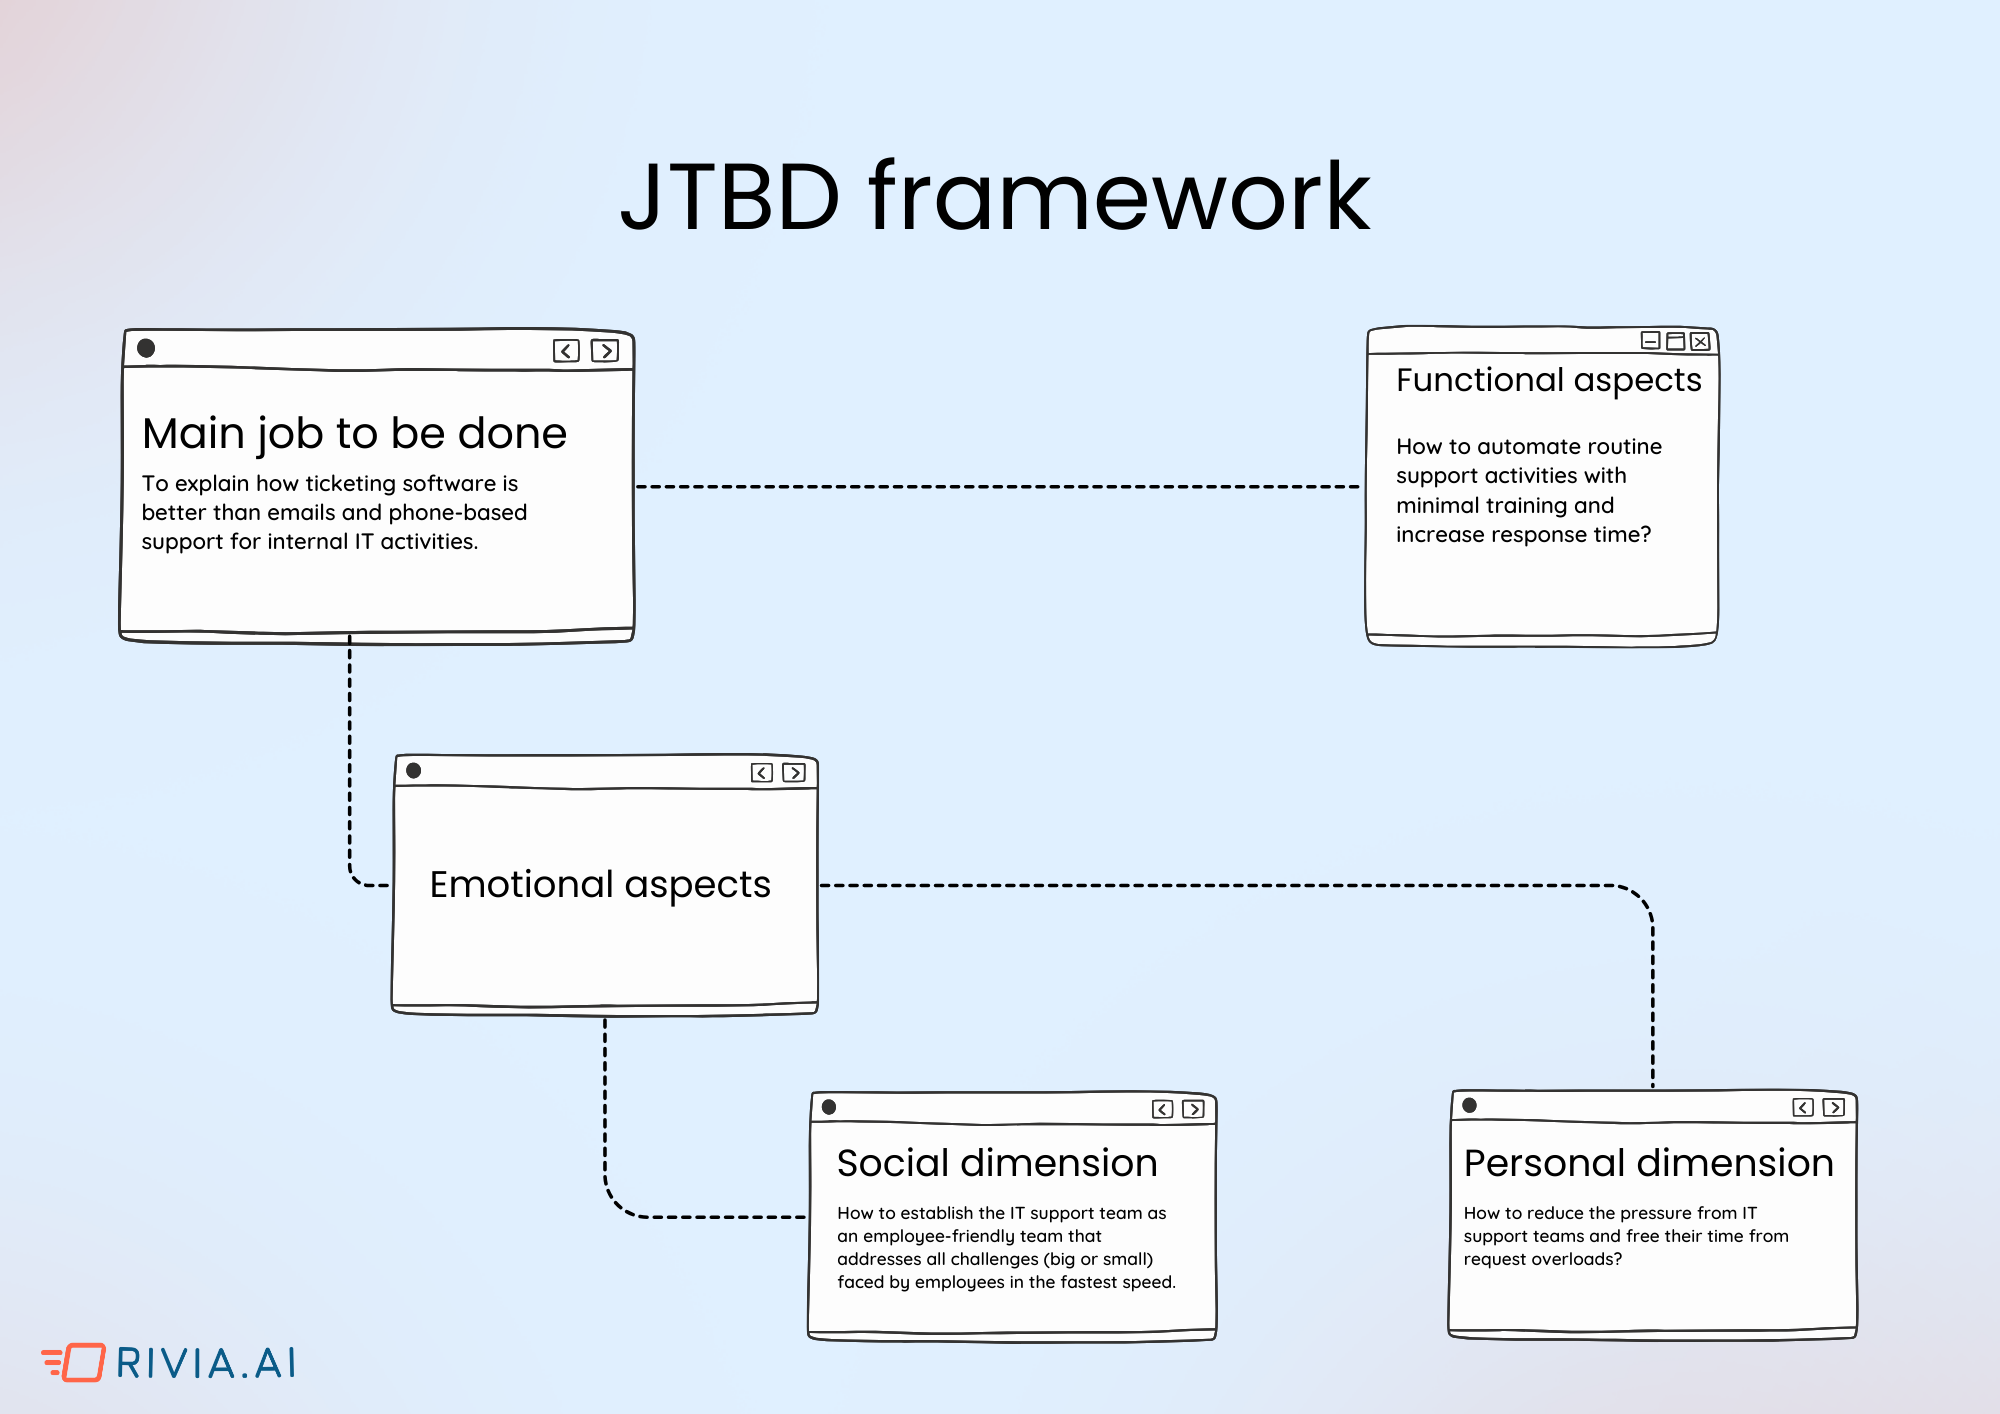
By the end of this framework, it will be apparent which features to highlight in the interactive demos to engage the users.
For example, in the above case, the features will be:
- How to integrate emails and other existing support portals with the tool
- Internal communication options
- Live chat or conversational support
- Ticketing dashboard and analytics aspects
Keep the product demo brief and avoid information overload
One interactive product demo mistake multiple brands make is - adding all the features to the app demo video.
That way, it becomes unnecessarily long and overwhelming for the potential users.
Your interactive demos should be concise and focused. Highlight your product's key functionalities and benefits, keeping in mind that the goal is to pique their interest and encourage further exploration.
Make your product demo actionable
Incorporate interactive elements into your demo that allow users to take action and engage with the product. This could include clickable buttons, interactive tutorials, forms, or simulations that simulate real-world use cases.
Remember, the only reason you use a self-guided product demo instead of a regular product demo is to empower your potential users. You don’t want to sound preachy by adding a few product screenshots.
Instead, assist your users to take action to better understand the product and the pain points it solves.
3 Interactive Product Demo Examples that We Love
By now, you should already understand how to create an app demo video for your product. Nevertheless, it is always suitable for some benchmarks, right?
Below are the three interactive product demo examples that stood out to us, and you can always follow the same flow:
1. Bigin by Zoho
Bigin is a simple and affordable CRM for early-stage startups to manage multiple activities like sales pipeline, customer support, testimonials, etc., at once. And the interactive demo on the homepage of Bigin does proper justice to its features.
It is clickable, takes you through different features shows the stages and dashboards for a particular use case - pipeline.

2. Clay
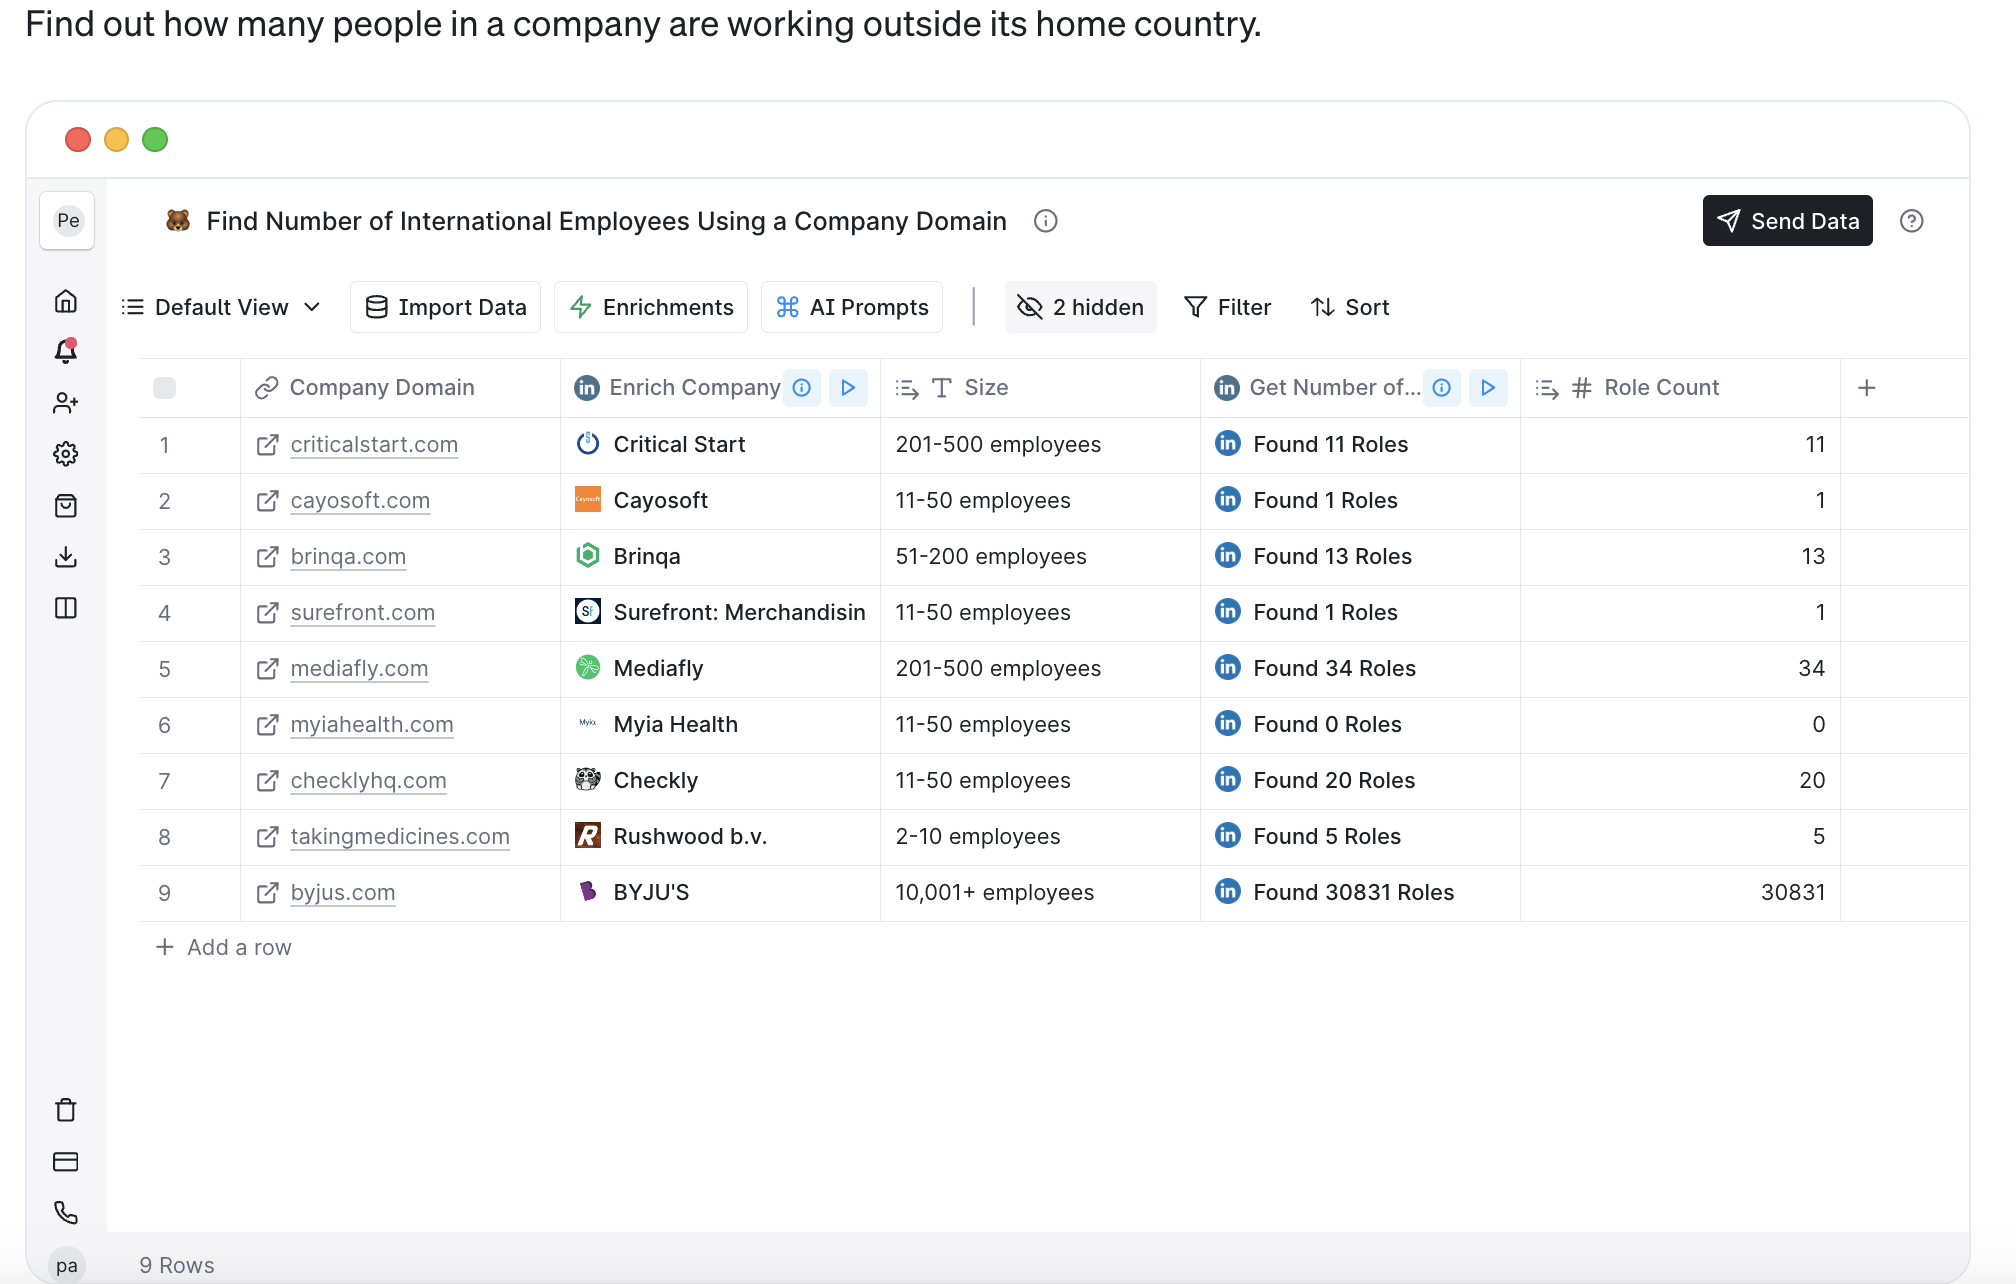
Outbound platform Clay also does a great job with its interactive product demo. Clay has a use-case-specific template library; interestingly, for each template, this brand has added a specific interactive demo showing how to use it.
This is a tremendous product-led-growth example as these templates are not promotional, instead, what Clay tried to achieve is empowering the audiences by educating them on how to leverage their templates.
3. Pump
Pump is an AWS cost-saving autopilot tool that uses interactive demos to communicate the product's value proposition. This interactive demo takes you through the product feature by feature and simplifies how Pump really works.

Final Thoughts
Creating an interactive product demo is a crucial step in the sales process for SaaS businesses. It allows potential customers to experience your product firsthand and understand its value.
By following the steps outlined in this guide and implementing best practices, you can create an engaging and compelling interactive demo that showcases your product's unique features and benefits.
Remember to personalize the demo for your target audience, keep it concise and actionable, and continuously track and improve its performance. With the right approach, an interactive product demo can be a powerful tool in driving conversions and customer success. So why wait?
Start creating your interactive product demo today with Rivia and see the impact it can have on your business.
FAQs
What is a demo creation software?
A demo creation software is a tool that allows users to create dynamic and interactive demonstrations of their products or services.
Is making a product demo the best choice?
Making a product demo can be an effective choice for showcasing key features and benefits, capturing user interest, and driving sales conversions.
How to create interactive presentations?
To create interactive presentations, use software like PowerPoint or Prezi, incorporate multimedia elements, engage the audience with visuals, and include interactive features like quizzes or surveys.

